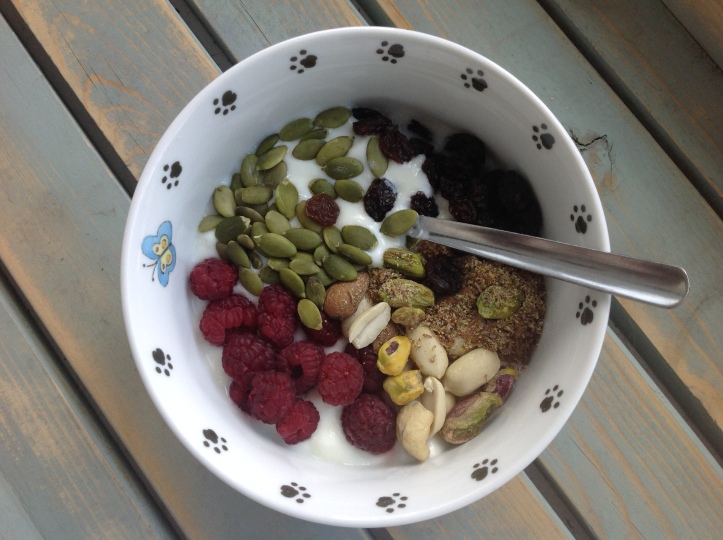
A lovely friend of mine gave me a recipe a long time ago to make my own yogurt. Being super plastic conscious, store-bought yogurt is not the preferred option for me. Firstly because once you remove the lid off the tub there is always a flimsy plastic cover that is not recyclable. Secondly because recycling is not the answer to our waste problems – refusing is.
Though I use yogurt tubs for storage (my husband, though very eco-conscious now, does not like my homemade concoctions of sour cream and yogurt and still wants store-bought – I pick my battles!), these can quickly get out of hand and take over our limited cupboard space. So I had this recipe… and recently I just decided to go for it.
However, to make yogurt – you need yogurt! I bought one tub of the most organic yogurt I could possibly find with the least amount of ingredients; this is important when diy’ing yogurt. I had my glass bottle milk and went to work.
What you need:
- a clean storage container large enough to fit about 4 cups
- a medium saucepan and stirring device
- 4 cups of milk
- 1-2 tablespoons of yogurt
- tea towels and preferably an oven (fyi: not for baking, just for temp consistency!)
- some patience
How to do it:
- Bring 4 cups of milk to a near boil in your saucepan; stir frequently because if you have ever heated cream or milk you know it will burn to the bottom.
- Take saucepan off heat and let it cool. You can use a thermometer for this, but I don’t want to be that precise, so after some time if I can hold my (clean) finger into the milk for about 20 seconds – it’s good to be transferred.
- Put your yogurt starter in your container.
- Add the milk and stir gently.
- Wrap up your yogurt container like you’re taking it outside on a cold winter’s day! I wrap several tea towels around my glass container, then line a loaf pan with another tea towel and place the container gently and upright into it.
- Incubate! Turn on the light in your oven, slide in the loaf pan, and let your yogurt sit. I usually aim for 10-12 hours to get a nice consistency.
- Once it has sat pretty for a long time, remove gently and put in the fridge.
- Eat it!
Why I do this:
- store-bought containers = plastic waste = not cool for the planet
- recycling = not the best option
- refusing = better option!
- know your ingredients
- just to see if I can

Have you ever tried to DIY yogurt? Do you have a tried and true method? Please share!

[…] making my own yogurt […]
LikeLike
I’ve made my own yogurt too with a culture bought from a health food store, and organic whole milk from Creston and using a multi-function pressure cooker I bought that makes great yogurt in about 15 hours. There is more control over what goes into homemade yogurt. I’ve added vanilla and local honey to sweeten it. I save about 1/4 cup of the yogurt when it’s ready to put in the fridge, and before I add any other ingredients. When it’s time to make a new batch of yogurt I use the 1/4 c. as a starter.
LikeLike
Thanks for commenting, Sharon! I’m glad I was able to find a recipe (thanks to my dear friend – sharing is caring, right?) that did not require a lot of materials to make. I have all the stuff on hand that I need and it makes some seriously delicious yogurt! I usually stick to my kefir grains for dairy products, but I am diggin’ this yogurt 🙂
LikeLike
Just hopped over from WasteLess Wednesday! I love yogurt and I have always wanted to make my own at home. Your easy to follow tutorial is just what I needed to get started. I would like to use non-dairy milk. Will this process work the same with almond or coconut milk? I’m pinning and sharing.
LikeLike
Good question! I’ve never tried with non dairy milk. Perhaps that will be my next experiment 🙂
LikeLike
Good on you for making your own yogurt! I am still too intimidated. Have you tried the Riviera brand of yogurt that comes in individual glass containers? It’s made in Quebec: http://riviera1920.com/en/riviera-introduces-petit-pot/ You can get it at the Centex in Kimberley…I haven’t seen anywhere in Cranbrook carrying it yet. Anyways, you can easily reuse the jars for many different things. I made individual jellos for my class one day as a treat and you can also get reusable lids that fit on top so you can reuse them for little snack jars for granola and such. I believe their website has other ideas too!
LikeLike
Also a great idea and yes I think you showed me the jars during our salsa making extravaganza 🙂 thanks for the reminder!
LikeLike
[…] one food item you buy in plastic and make it yourself. For example, yogurt is very easy to make, and you can then skip the plastic container and […]
LikeLike